蓝晒初体验~
This was my very first attempt at making a cyanotype print, and the process turned out to be both simple and exciting. I’d like to share how I made it step by step.
Step 1: Mixing the Solutions
I started by preparing the chemicals. I mixed Solution A and Solution B of the cyanotype kit together. Then I brushed the mixture evenly onto pieces of cut watercolor paper.
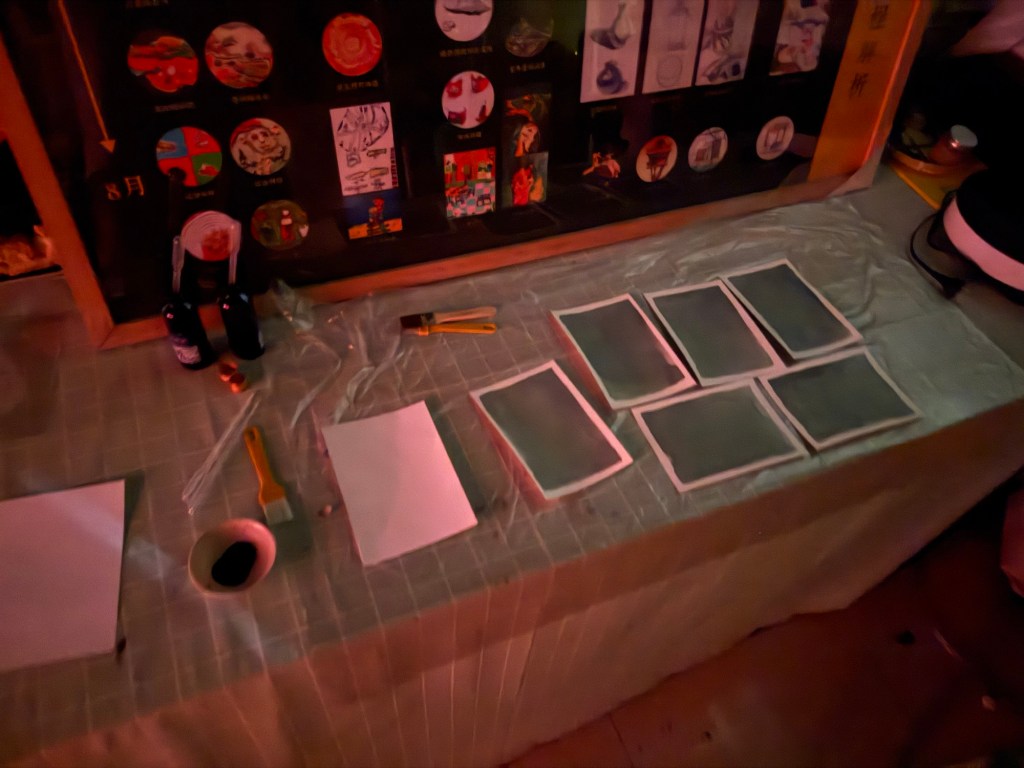
Step 2: Preparing the Negatives
Next, I worked on the images I wanted to print. I took some photos I had shot earlier and processed them in Photoshop to create negative versions. Then I printed the black-and-white negatives onto leftover transparent film sheets.
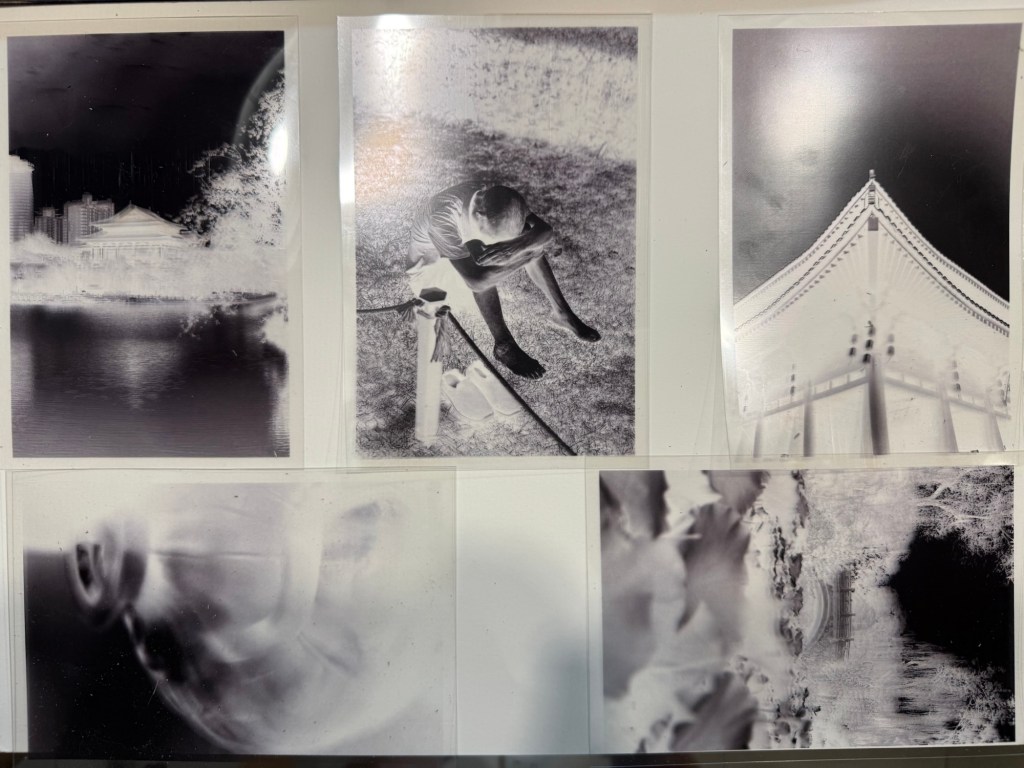
Transparent films
Step 3: Setting Up the Exposure
Once my coated papers were completely dry (I dried them in a dark room), I placed the transparent negatives directly on top of the sensitized papers. To keep everything flat, I used acrylic sheets to press them down.

Extra Tip: You can also use thin transparent plastic sheets as a substitute.
Step 4: Sun Exposure and Test Strips
I exposed the setups under direct sunlight. At first, I wasn’t sure how long it would take, so I made some test strips to check exposure times. After a few tries, I finally figured out the right balance and got successful prints.
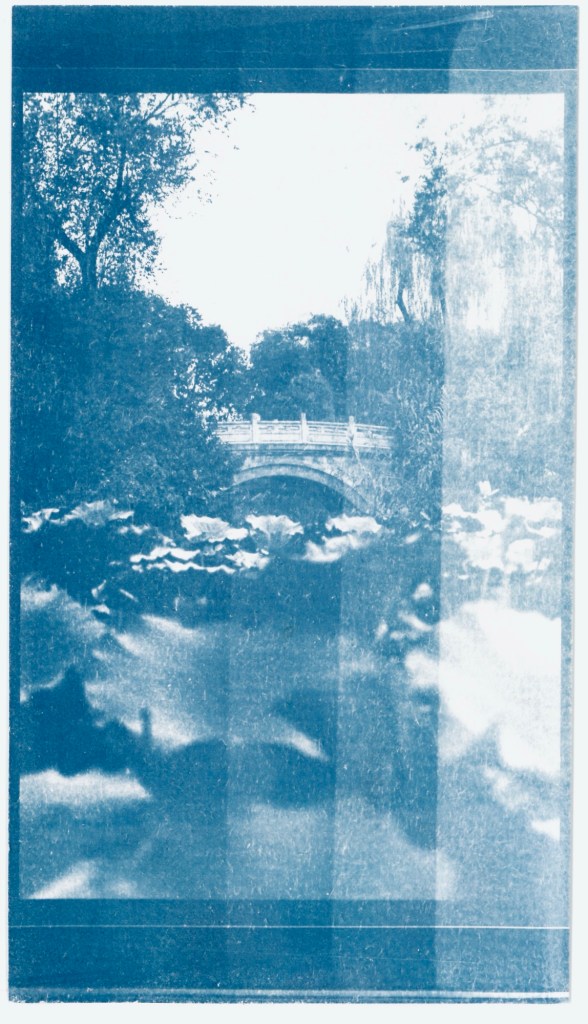
Step 5: The Final Prints
After rinsing the exposed papers and letting them dry, I was amazed by the beautiful blue tones. Even though it took me a couple of attempts to get it right, seeing the final cyanotype prints felt really rewarding.

Extra Tip: You can also use hydrogen peroxide to speed up the oxidation process, which gives a deeper and richer blue right away.
Reflections
For me, this was a fun first experience. The process wasn’t complicated, but it definitely took some patience and experimentation. I look forward to trying more cyanotypes in the future—maybe even experimenting with different materials and subjects.
thanks for sharing